THE BASICS - ASSEMBLING TWO PIECES
SEWING TWO PIECES TOGETHER
When it is time to sew two pieces together, you will inevitable accomplish the following 5 steps :
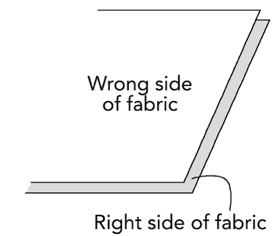
With right sides together, stack your pieces together, aligning the edges that will be sewn together. The right side of the pieces is then on the inside whereas the wrong side is visible from the outside.
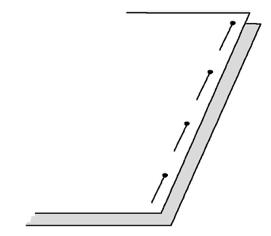
Baste the two pieces together, using either pins or basting thread, along the edge to be sewn.
This step keeps your work stable when going under the sewing machine, so that the edges of both pieces do not shift.
Sew the edges together, usually at 1cm, using a 2,5mm straight stitch (i.e. set your stitch length at 2,5 on your sewing machine), while removing the pins or the basting thread that could be in the way.
This 1cm allowance is the standard seam allowance of p&m patterns, unless otherwise specified in the instructions.
Every seam sewn with a sewing machine must start and end with a backstitch (going to and fro 1-2 times on 2-3 stitches), except for gathers. If this step is overlooked, your seam may unpick itself.
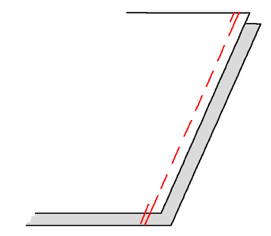
Using a zigzag stitch, overcast the seam allowances together as close to the edge as possible. This step is crucial in preventing the fabric from fraying over time and, as such, the garment suffers less from wear. Thus it concerns mostly the seams that might rub against the body when worn.
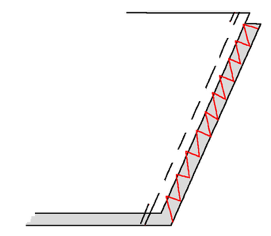
Press well to flatten the seam. You can either press the seams open if the seam allowances have not been overcast together or press the seams on one side if they have been overcast together.
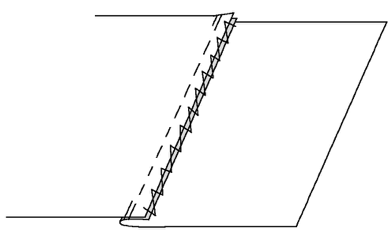
TRIMMING THE SEAM ALLOWANCES
Getting a nice-looking seam on the outside can be achieved by trimming the seam allowances in half before overcasting them. Once the garment has been turnt on the right side, you will have less thickness at the seam, thus obtaining a less conspicuous seamline.
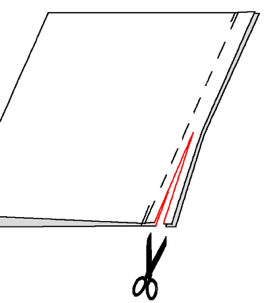
SEWING THE CURVES
Fabric pieces can be curved (e.g. armhole, neckline, collar…). You can achieve a nice seam by stitching slowly and turning your fabric gently while sewing, the stitch-line and the needle of your machine being aligned.
If the curve is really deep, you can trace the stitch-line beforehand (at 1cm from the edge) then stitch exactly on this line. While sewing, you may have to raise the presser foot from time to time, leaving the needle down, so that you can re-adjust the fabric pieces underneath. The end result will be neater.
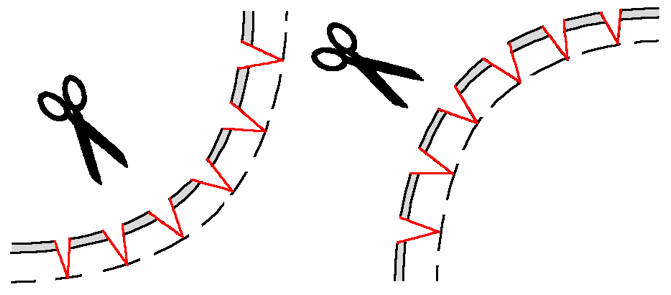
You can clip curves to get a more flexible seam with a nice curve on the outside. It means that the seam allowances are snipped at regular intervals with scissors, without snipping the stitch-line.
SEWING INWARDS AND OUTWARDS CORMERS
Sometimes, the pieces you will assemble have one or more corners (belt loops, shorts or trousers waistband, collar point…). As stated above, to get a sharp corner, you can trace the stitch-line at 1cm from the edge at corner level and stitch precisely onto this line.
When sewing, use a straight stitch to the corner then raise the presser foot with the needle down into the fabric, pivot at the corner, lower the presser foot and continue sewing with your straight stitch.
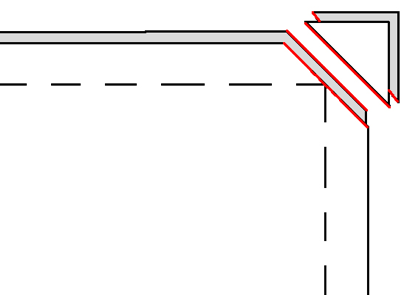
The corner will have to be clipped i.e. cutting the fabric excess diagonally, without snipping the stitch-line. Eliminating the fabric excess will yield a sharper corner when the garment is turned on the right side.
TOPSTITCHING
Topstitching is a decorative finishing stitching line sewn on the right side of the garment. It is mostly sewn along the seamline and at about 5mm from it. It enhances this seamline, but it also helps in reinforcing it.
Topstitching done at 2mm or less from the seamline is called edgestitching.
