THE BASICS - USING PATTERNS
A sewing pattern is a two-dimensional representation of a garment. It’s made of pieces that are assembled together to create a 3D garment.
TRACING THE PATTERN
You will first trace the pattern on tracing paper (or transparent plastic). You must note all the markings and symbols on each of the pattern pieces because they are of paramount importance to match the pieces correctly.
When everything is noted down, cut around your paper pieces.

PLACING THE PATTERN PIECES ON FABRIC
Then you will have to lay the various pieces onto the fabric, following the grainline, according to the cutting layout provided in the instructions.
- Grainline
Before laying your paper pieces down onto fabric, you must determine the grainline of your fabric. Grainline determines the cutting axis of each of your pieces according to the « grainline » arrow written on top of each pattern piece.

Fabrics cut following the grainline have a better resistance and a better drape once the garment is worn because there is no distorsion.
Some pattern pieces are deliberatly cut on the bias to get some stretch.
- Direction of pieces on the fabric
If the fabric is solid or if the patterns are non directional (dots, stripes, squares,…), you can lay your paper pieces onto the fabric in any direction (from top to bottom or from bottom to top).
On the contrary, if your fabric is directional, you must be cautious in laying out all of your paper pieces in the same direction.
For fabrics with nap like corduroy, paper pieces should be laid following the nap (in general, the nap is from top to bottom).
- Laying down the pieces onto fabric
In general, most of the pieces of a sewing pattern will be cut « twice » or « once on fold of fabric » (instructions are written on each paper piece). It means that the cut pieces will be perfectly symetrical.
To do so, fabric will be folded widthwise, with the right side on the inside and the wrong side on the outside i.e. the width must be folded onto itself.
Lay all of your pieces onto your fabric following the cutting instructions and the grainline :
-If a piece is to be cut « once on the fold of fabric » then it should be placed along the fold of fabric and the fold should not be cut.
-if a piece is to be cut « twice », then it should be slightly offset from the fold and fabric will be cut all around the piece.
You can also try and optimize your fabric by moving your paper pieces closer together. You will then save fabric.

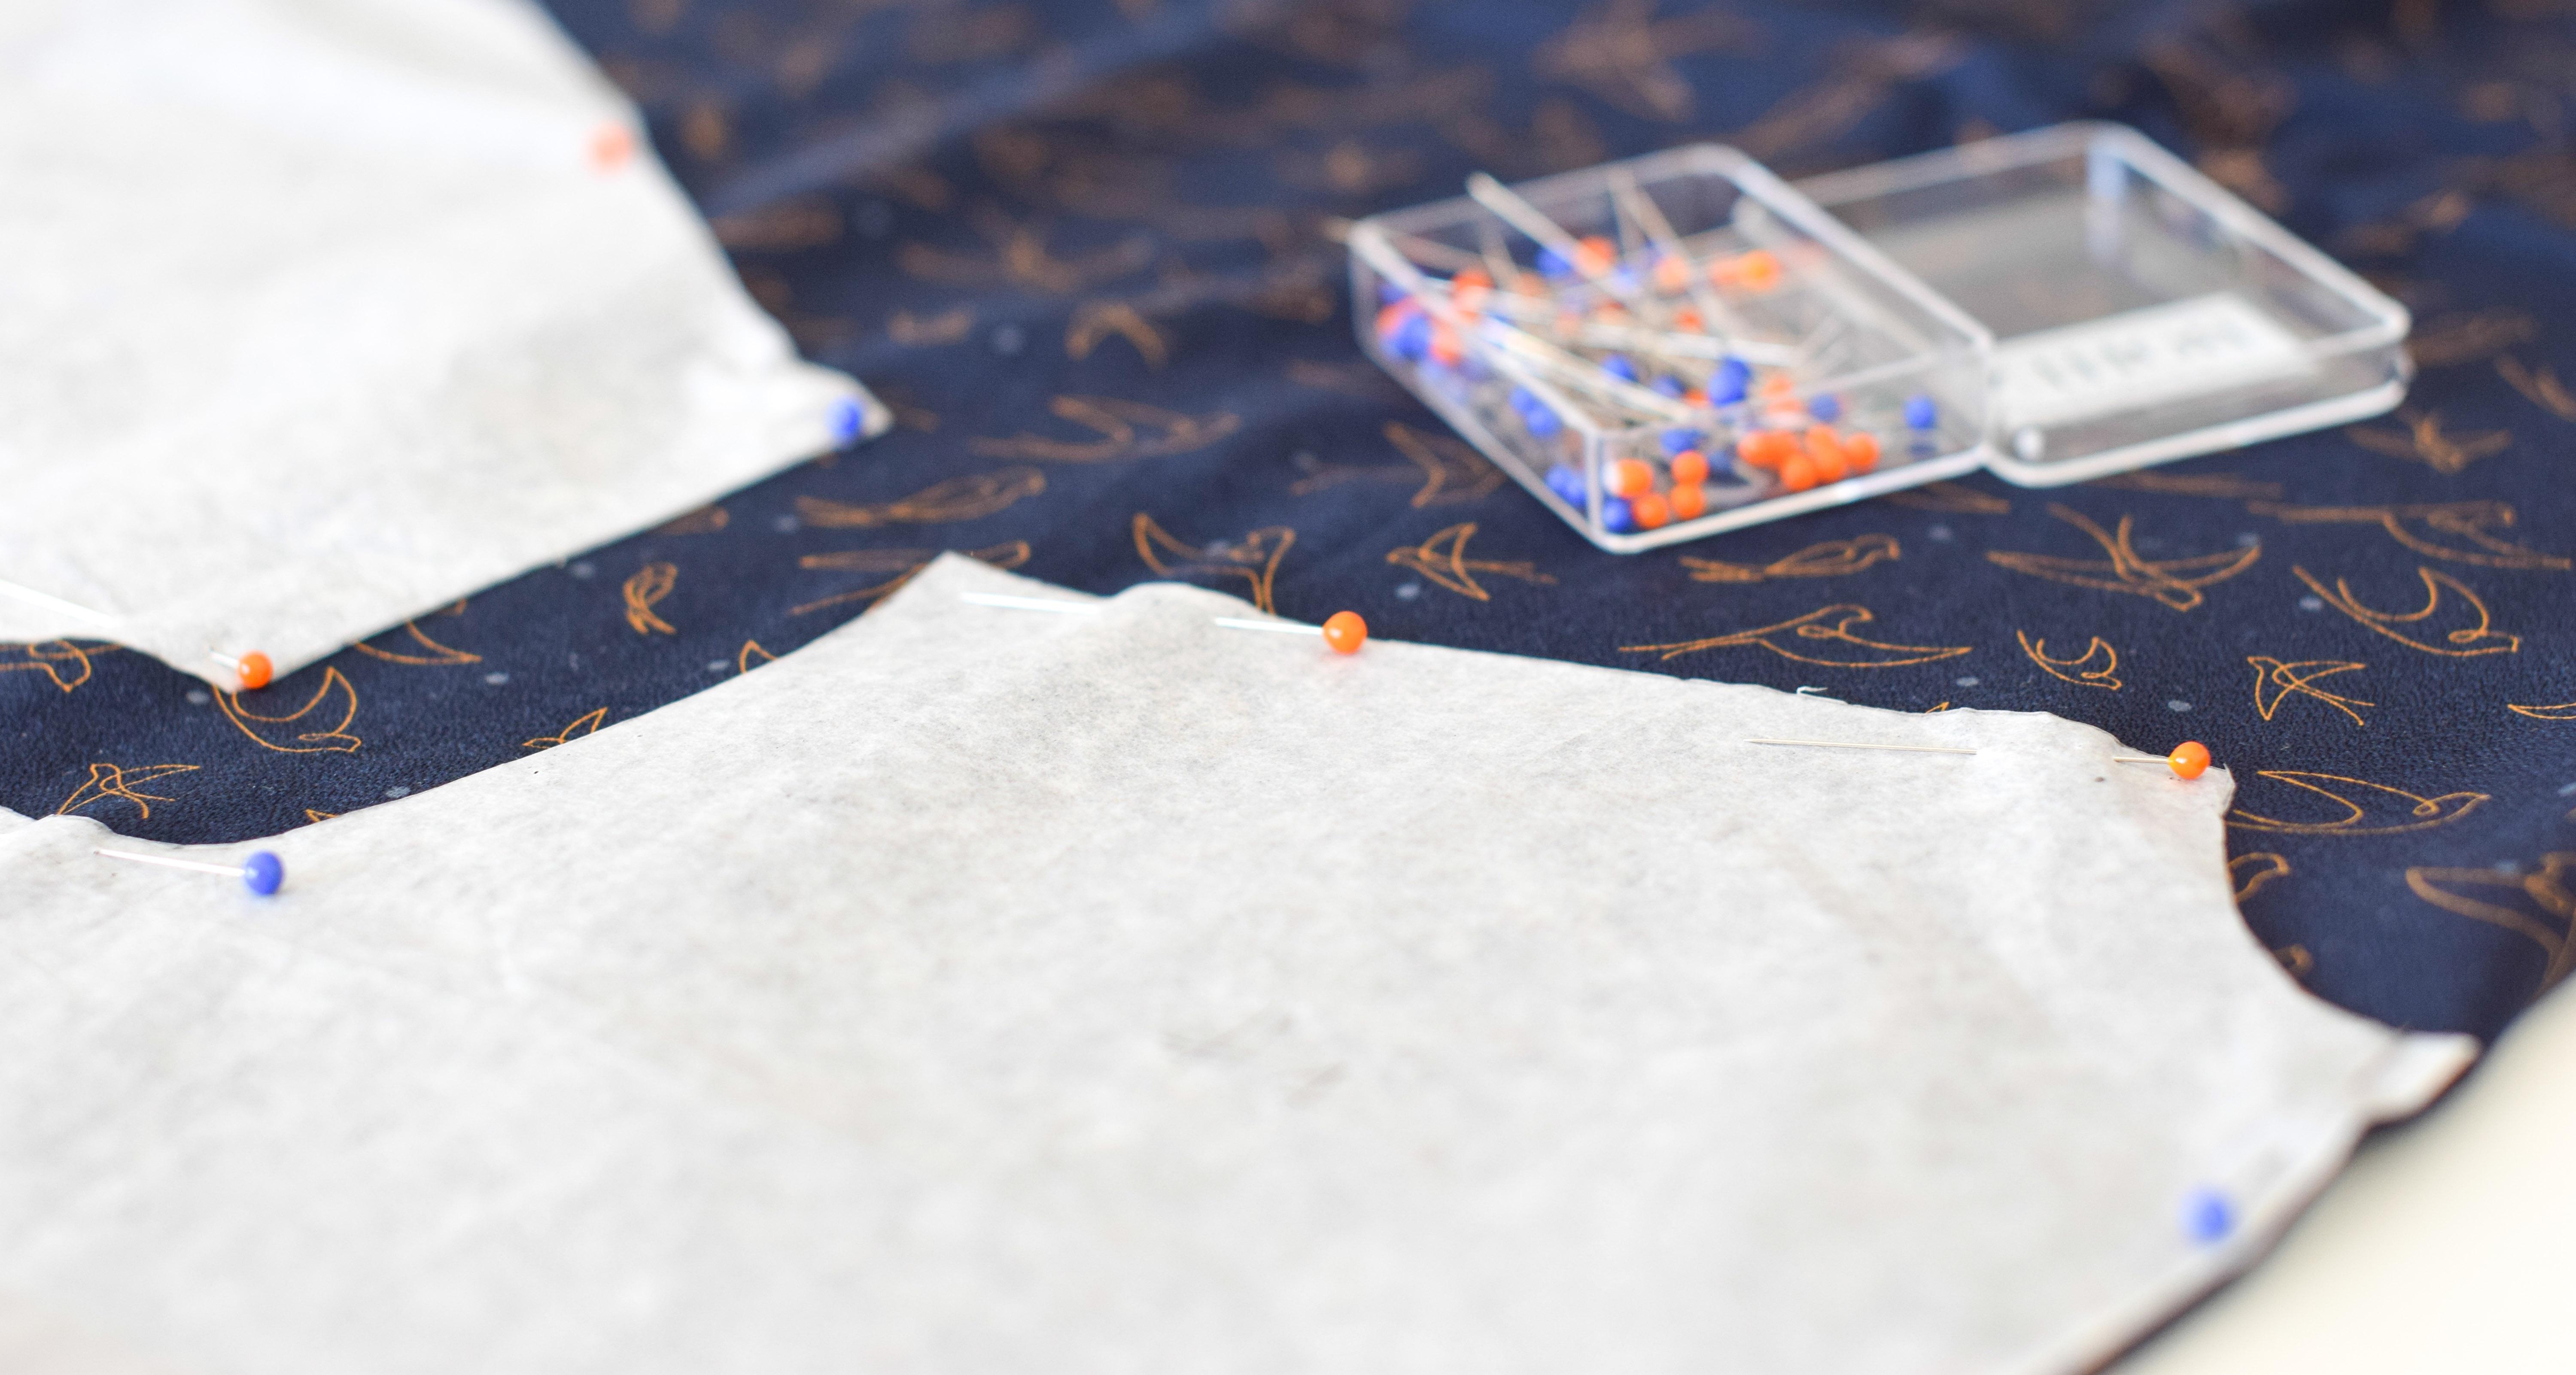
Once your paper pieces have been laid out onto fabric, pin them into place to prevent any displacement of the pieces while cutting.

ADDING SEAM ALLOWANCES, IF NEEDED
Seam allowances and hems are included in all p&m patterns. You don’t have to add them.
However, some sewing patterns are sold without seam allowance. Before any cutting, seam allowances will have to be traced around each piece of the pattern, using tailor chalk. Seam allowances are usually indicated in the instructions.
CUTTING YOUR FABRIC
Then, cut your fabric precisely, without cutting the paper piece :
- Following the paper edge if the seam allowances are included (which is the case with p&m patterns)Soit, au ras du papier dans le cas des patrons avec marges incluses, tels que les patrons p&m,
- Following the added seam allowances line.
NOTING DOWN ALL THE MARKINGS ON THE PAPER PIECES
Using a tailor chalk or an erasable pen, on the wrong side of the fabric, you will transfer writings (back, front, shoulder…) and markings (center front, center back, loop, pleats, buttonholes, buttons…) of each piece. These writings are very important and will help you in assembling your garment.
Your pattern pieces are ready ! Now you can start sewing them together, following the instructions and the line drawings carefully.
